From the workbench

Build photos, repair videos, gaming vlogs, and DIY notes for the gear you like to tinker with.
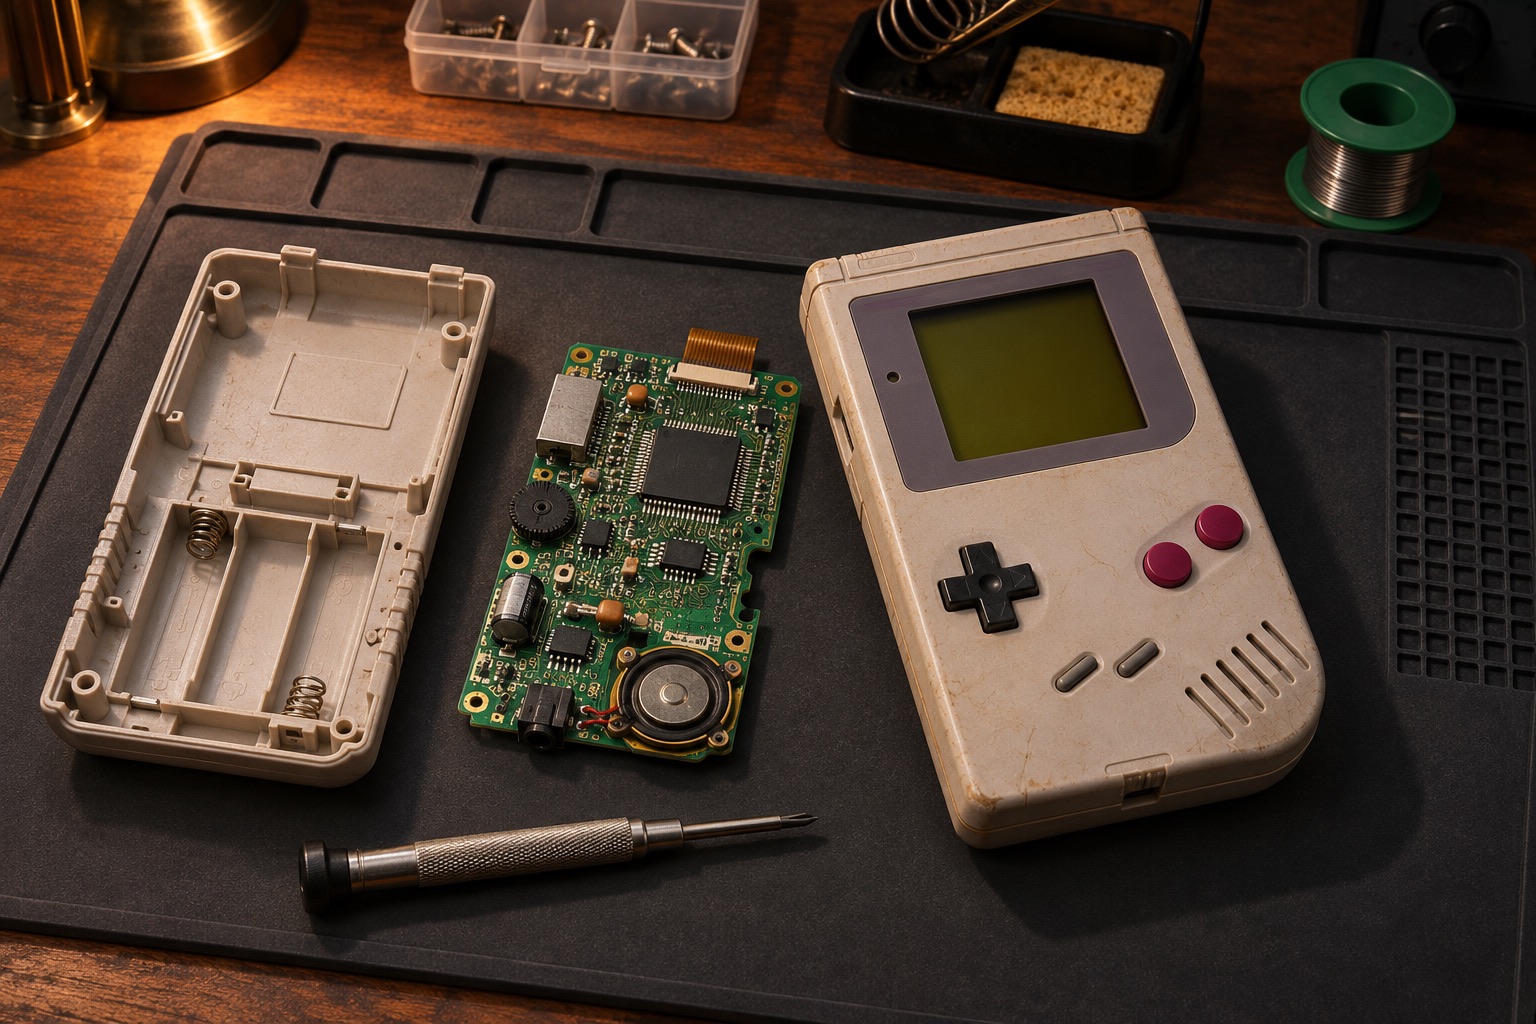
A retro handheld with its circuit board removed on a workbench

Project photos & vlogs

The sample photos are illustrative. Files you select stay on this device.

Retro handhelds

Shells, screens, and the details that make a build personal.

Graphics card teardown

A closer look at the board and cooling assembly.

Custom gaming PCs

Component choices, airflow, and cable routing.

Explore charts and build planners

DIY guides

Plan a handheld upgrade

Use this guide to put together a parts list for a screen, shell, USB‑C kit, or button lighting upgrade.

  1. Identify your console. Write down the model code from the case label and look up any board or connector revisions the kit maker calls out.
  2. Match the parts as a set. Confirm the display fits the shell, the charging kit fits the battery compartment, and any button lighting fits with the buttons and membranes you picked.
  3. Read the install guide first. Check what the kit includes, what you’ll buy separately, and whether you’ll need to solder or trim the shell.
  4. Plan the bench check. Record which controls, display, audio, and power functions work now. Use the kit maker’s test sequence to check them again after the upgrade.
Before you order

0 of 4 checked

Progress saves in this browser.

Troubleshoot a graphics card

Start with the symptom on your desktop PC. Record when it happens and change one thing at a time.

  • No display. Confirm the monitor is on the correct input and the cable is connected to the graphics card. Try a known-working cable or monitor. Note whether the screen is blank from startup or only after the operating system loads.
  • Crashes or visual glitches. Record the app, error message, and recent hardware or driver changes. Return any GPU overclock or undervolt to default settings. If the problem started after a driver update, check the card maker’s rollback guidance.
  • Running hot. Check for blocked vents or visible dust. If the PC runs normally long enough to take a reading, note the GPU temperature and fan behavior in the affected app. Compare both with the card maker’s guidance for your model.

Shut down and unplug the PC before touching internal parts. Stop testing if you smell burning or see a damaged power connector.

Manufacturer references No display · System stability · Fans and airflow

Before you request repair

0 of 4 checked

Progress saves in this browser.

Plan a custom PC build

Use this guide to check your parts list before ordering and verify the build on its first boot.

  1. Start with what you’ll run. List your main games or apps, your target resolution if you’re gaming, and your total budget. Write down the exact model number of each part.
  2. Check the motherboard. Look up the exact CPU and required BIOS version on the motherboard maker’s support list. Match the RAM type and capacity, and check which storage drives the board’s slots support.
  3. Check what fits. Match the motherboard size to the case. Check graphics card length and thickness, room for its power cable, and cooler clearance with the fans or radiator installed.
  4. Match the power supply. Check the graphics card maker’s recommended system wattage and verify the power supply has the connectors your motherboard, CPU, and graphics card need. Use modular cables the power supply maker lists for that exact model.
  5. Verify the first boot. In the motherboard’s setup screen (BIOS/UEFI), confirm it sees the CPU, memory, and storage. Check that cooling is working, then install the operating system and drivers. Test a normal workload before enabling performance tuning.

Manufacturer references PC assembly and first boot · CPU and memory support · Power cable compatibility

PC build checklist

0 of 5 checked

Progress saves in this browser.

Write down a fault before getting a repair quote
  1. Record the manufacturer, full model, and when the problem started.
  2. Describe what still works, what fails, and any lights, sounds, or error messages you observe.
  3. List the checks you’ve already tried and take clear exterior photos of the device and any visible damage.
Request a repair quote

Workbench downloads

Product concepts for paid charts, original schematics, and build planners.
Graphics card diagnostics

Troubleshooting flowcharts for symptoms such as no display, instability, or overheating.

Preview the contents

Start with the symptom, record known-good components, and track the result at each step. Original, model-specific schematics could accompany verified guides.

Custom PC build planner

A parts worksheet with compatibility checks and a place to record how the finished system was tested.

Preview the contents

Capture the CPU and board pairing, memory, graphics-card clearance, power requirements, airflow, and the results of post-build checks.

Bench talk

Ask a specific question

Try the question format. This draft stays in your browser.

What should I film next?

Pixel & Solder Workbench

Free sample

Open the sample PDF ↗

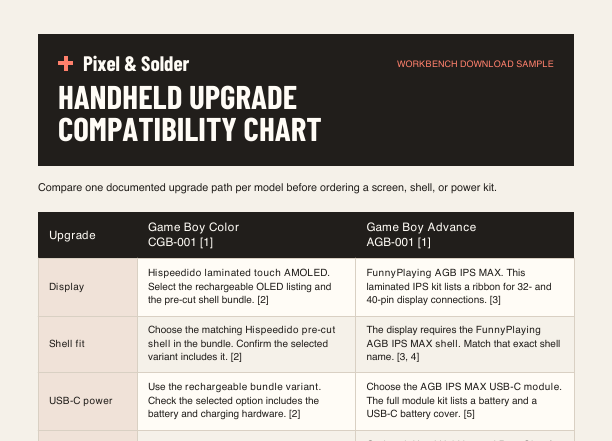
Handheld upgrade compatibility chart

Use the one-page sample to compare two handheld models before choosing parts.

In the full download

The reference chart and a printable worksheet to record part numbers, fit checks, and build results.